Upgrade Your Throne: Easy DIY Toilet Installation Guide!
Introduction:
Hey there, savvy homeowners! We know that upgrading your throne might not be the first thing on your mind, but trust us, a well-functioning toilet is a game-changer. Not only does it improve the aesthetics of your bathroom, but it also ensures a hassle-free and efficient flushing experience. If you're ready to give your bathroom a facelift, this DIY toilet installation guide is your ticket to success.

The Importance of a Well-Functioning Toilet
Let's be real – a malfunctioning toilet is a headache. Constant clogs, leaks, and wobbles can turn your bathroom into a stress zone. Upgrading your toilet not only resolves these issues but also adds a touch of modern elegance to your space. Plus, who doesn't love a powerful, efficient flush?
Benefits of Upgrading and Installing a New Toilet
Water Efficiency: Newer toilets are designed to be more water-efficient, helping you save on your water bill.
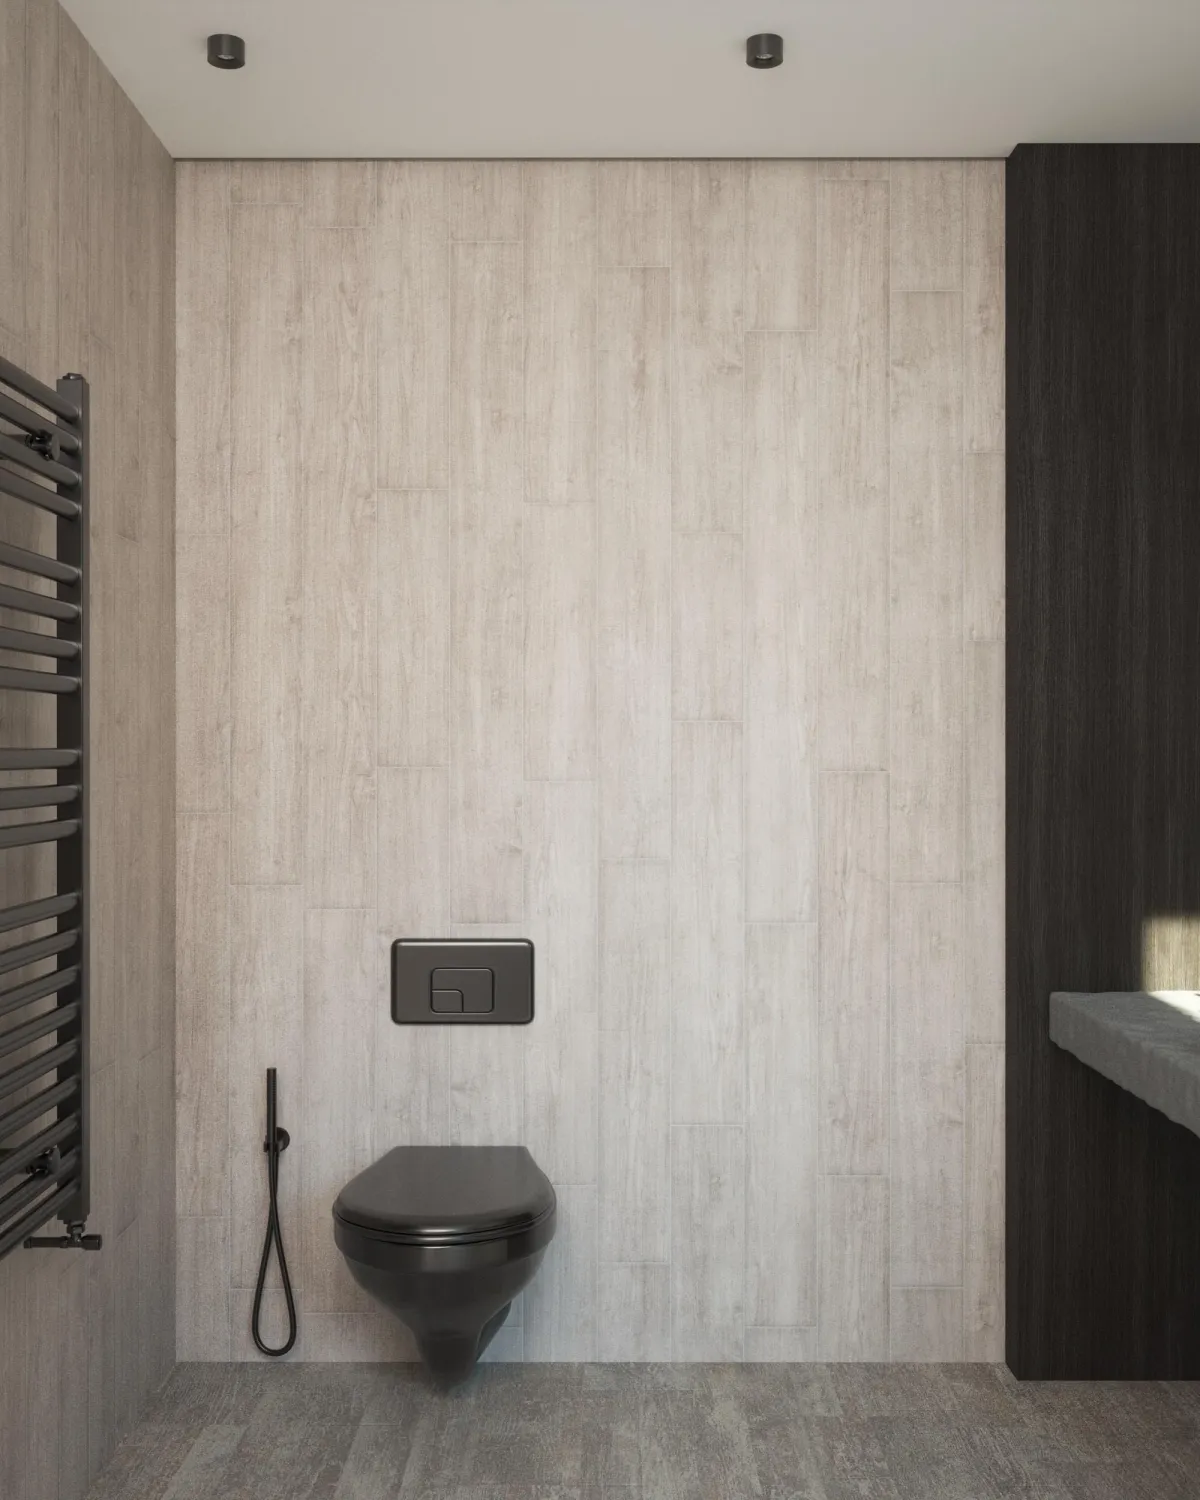
Style Upgrade: Give your bathroom a stylish makeover with a sleek and modern toilet design.
Reduced Maintenance: Say goodbye to constant repairs and hello to a low-maintenance toilet.
Preparing for the Installation
Alright, let's dive into the nitty-gritty of preparing for your DIY toilet installation. Grab your tools, put on your DIY hat, and let's get started!
Gathering Necessary Tools and Materials
Before you embark on this journey, make sure you've got the right tools in your arsenal. Here's a quick checklist:
Adjustable wrench
Screwdriver
Plunger
Bucket
New toilet
Wax ring
Bolts and nuts
Now that you've got your tools lined up, let's roll up those sleeves and get to work!
Turning Off Water Supply and Emptying the Tank
Safety first! Locate the water valve near the base of your toilet and turn it off. Next, flush the toilet and hold the handle down to empty the tank as much as possible. Got it? Good. Let's move on.
Removing the Old Toilet
Bid farewell to your old throne – it's time for an upgrade!
Disconnecting the Water Supply Line
Use your adjustable wrench to disconnect the water supply line from the bottom of the tank. Place a bucket underneath to catch any remaining water.
Unbolting and Removing the Old Toilet
Loosen the nuts on the bolts securing the toilet to the floor. Gently rock the toilet back and forth to break the seal, then lift it off the bolts. Now, take a moment to inspect the wax ring. If it's looking worse for wear, replace it with a fresh one.
Cleaning the Flange for a Proper Seal
Clean the flange on the floor – that's the pipe fitting where your toilet was mounted. A clean flange ensures a tight seal for your new throne.
Installing the New Toilet
This is the exciting part – assembling and installing your shiny new toilet!
Assembling the New Toilet
Follow the manufacturer's instructions to assemble your new toilet. Attach the tank to the bowl and place the wax ring on the flange. Pro tip: Warm the wax ring slightly to make it more pliable.
Setting the New Toilet in Place
Carefully lower the toilet onto the flange, aligning the bolts with the holes. Apply even pressure to seat the wax ring and create a solid seal.
Securing the Toilet to the Floor
Tighten the nuts onto the bolts, ensuring the toilet is stable and level. A wobbly toilet is no one's friend – tighten those nuts for a secure fit.
Connecting the Water Supply
Time to bring your new throne to life!
Reattaching the Water Supply Line
Reconnect the water supply line to the bottom of the tank. Use your wrench to secure it tightly. Turn on the water supply and check for any leaks. No leaks? Fantastic!
Adjusting the Water Level in the Tank
Check the water level in the tank. Adjust the float if needed to ensure a proper water level for optimal flushing. If you're unsure, consult your new toilet's manual for guidance.
Testing and Fine-Tuning
Let's make sure everything is working like a charm!
Flushing the Toilet to Check for Proper Functionality
Give your new toilet a test run. A full and effective flush is what we're aiming for. If there are any issues, go back and double-check your installation steps.
Inspecting for Leaks and Making Necessary Adjustments
Take a close look around the base and connections for any signs of leaks. If you spot a leak, don't panic. Tighten any loose nuts or bolts, and you should be good to go.
Tips for Maintenance and Longevity
You've successfully upgraded your throne – now let's keep it in top-notch condition!
Regular Cleaning and Care Recommendations
Keep your new toilet sparkling clean by using mild cleaners and a soft brush. Avoid abrasive cleaners that could damage the finish.
Addressing Common Toilet Issues Promptly
If you notice any unusual sounds, slow flushing, or other issues, address them promptly. Ignoring problems can lead to more significant repairs down the line.
Professional Plumber Consultation if Needed
If you run into any challenges during the installation or encounter persistent issues, don't hesitate to call in the pros. All American Plumbing is here to help with any plumbing concerns.
Conclusion
Congratulations, DIY champion! You've successfully upgraded your throne, and your bathroom is looking better than ever. We hope this step-by-step guide has been helpful in making your DIY toilet installation a breeze. Remember, if you ever need expert assistance, All American Plumbing is just a call away. Happy flushing!
