Upgrade Your Kitchen: Easy Faucet Install for a Stylish Look!
Introduction:
Hey there, kitchen renovators and DIY enthusiasts! Are you looking to give your kitchen a fresh new vibe without breaking the bank? Well, look no further because we've got just the thing for you – a super easy faucet installation guide that will instantly upgrade your kitchen's style and functionality. At All American Plumbing, we understand the importance of a sleek and efficient kitchen faucet, so let's dive right in and get that old, outdated faucet replaced with something stylish and modern!

Choosing the Right Faucet
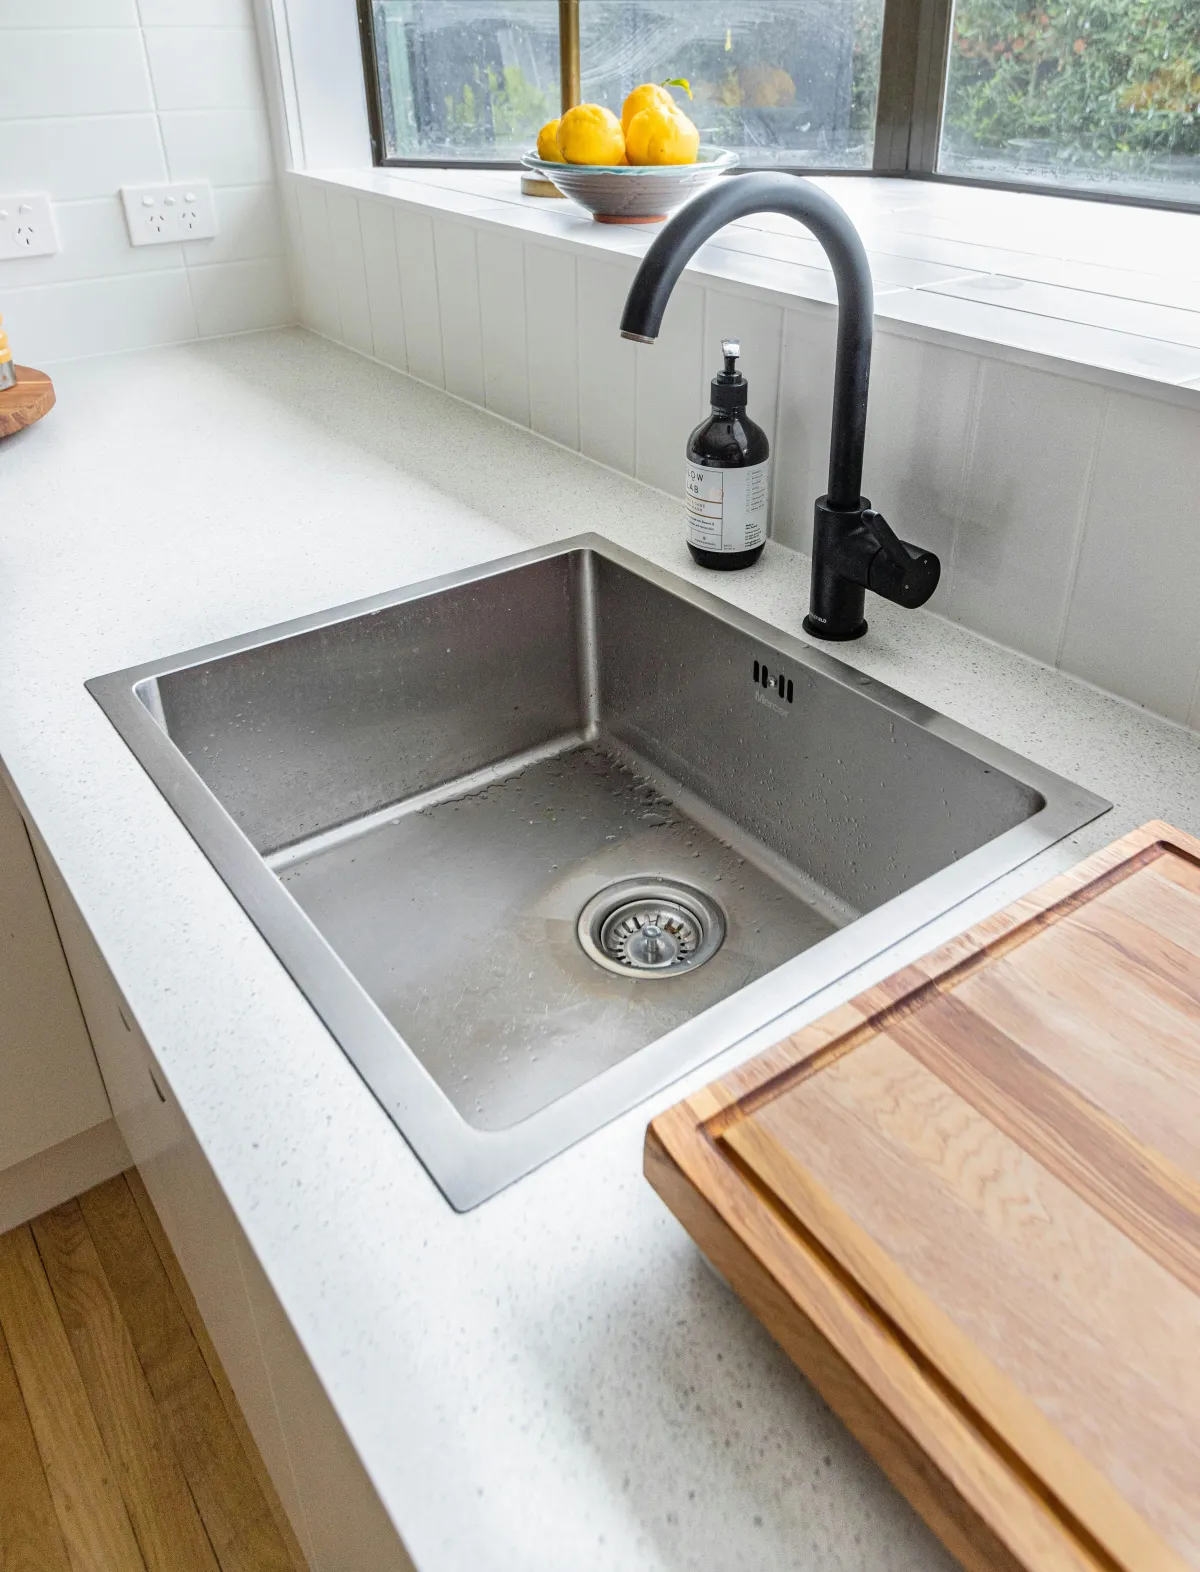
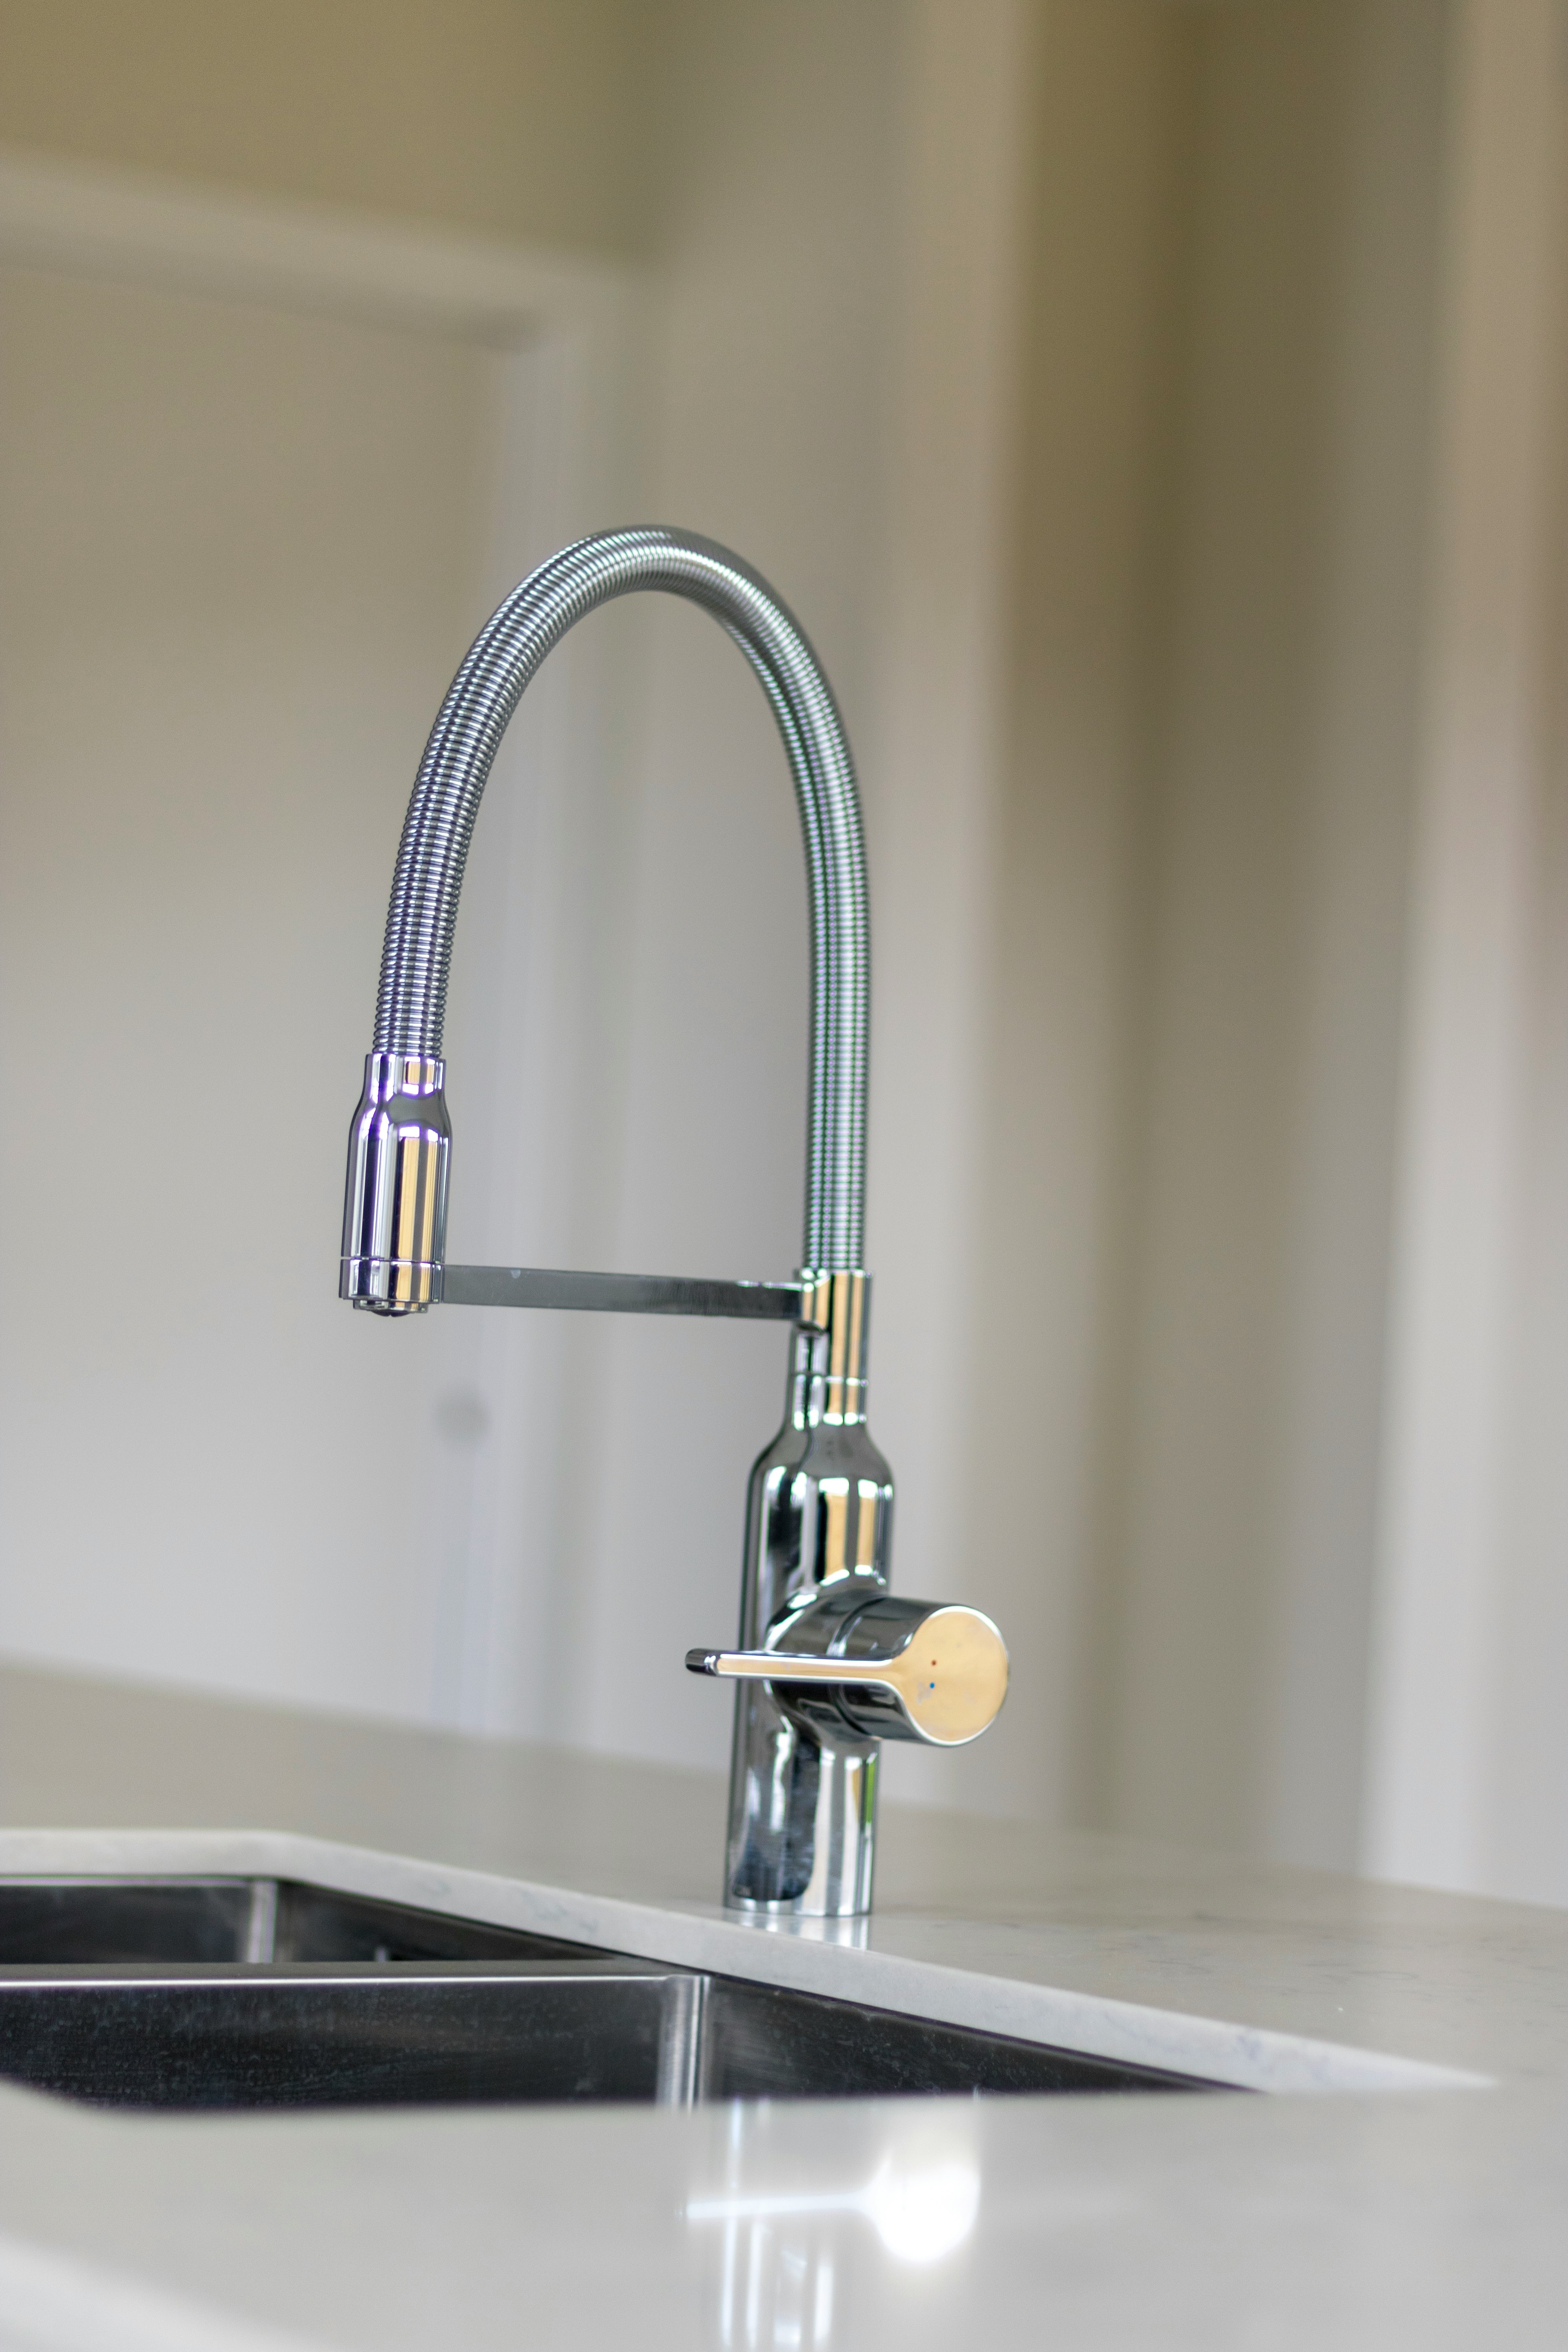
So, you've decided it's time for a faucet upgrade – but where do you start? Well, the first step is to figure out what type of faucet best suits your kitchen's style and your personal preferences. Do you prefer the convenience of a pull-down faucet, or maybe the versatility of a pull-out? Single handle or double handle? The options are endless, but fear not! We're here to help you navigate through the sea of choices.
Take a good look at your kitchen's current style and décor. Are you going for a sleek and modern look, or maybe something more classic and traditional? Consider the material and finish of the faucet as well – do you want something shiny and chrome, or perhaps a more subdued brushed nickel? Whatever your style may be, there's a faucet out there that's perfect for you.
Preparing for Installation
Now that you've chosen the perfect faucet for your kitchen, it's time to roll up your sleeves and get to work! But before you start, make sure you have all the necessary tools and materials on hand. You'll need things like an adjustable wrench, pliers, Teflon tape, and a bucket for catching any water that might leak during the installation process.
Before you begin, be sure to shut off the water supply to your kitchen sink. This is usually done by turning off the shut-off valves located under the sink. Once the water is turned off, go ahead and remove the old faucet. This may require a bit of elbow grease, but with some patience and determination, you'll get there!
Once the old faucet is out of the way, take some time to clean the area thoroughly. Remove any old caulk or debris to ensure a smooth and clean surface for your new faucet to be installed.
Step-by-Step Installation Guide
Now comes the fun part – installing your shiny new faucet! Follow these simple steps, and you'll have your new faucet up and running in no time:
Start by placing the new faucet base on the sink deck and securing it in place with the mounting nuts provided.
If your faucet has separate handles, go ahead and install those next. Make sure they're positioned correctly and tighten them securely.
Once the base and handles are in place, it's time to connect the water lines. Most faucets come with flexible supply lines that simply need to be screwed onto the corresponding valves.
Use Teflon tape to ensure a tight and leak-free connection. Wrap the threads of the supply lines with a few layers of tape before screwing them onto the valves.
Once everything is connected, turn the water supply back on and check for any leaks. If you notice any drips or leaks, tighten the connections as needed until everything is snug and secure.
Finally, test out your new faucet to make sure everything is working properly. Run both hot and cold water to ensure that the temperature and flow are to your liking.
Tips for a Smooth Installation
While installing a new faucet may seem like a daunting task, it doesn't have to be! Here are a few tips to help make the process go smoothly:
Make sure to properly position and align the faucet base before securing it in place. You want it to be centered and straight for a polished look.
When connecting the water lines, be careful not to over-tighten them. Hand-tighten the connections first, and then give them one final snug with a wrench.
If you encounter any unexpected issues during the installation process, don't panic! Take a step back, assess the situation, and don't hesitate to reach out to a professional if needed.
Enhancing the Look and Functionality
Now that you've got your new faucet installed, why not take things to the next level? Consider adding some accessories like a soap dispenser or a water filtration system to enhance both the look and functionality of your kitchen sink. These small additions can make a big difference in the overall convenience and efficiency of your kitchen.
And hey, why stop there? With the rise of smart home technology, you can even find faucets with touchless sensors or voice-activated controls for the ultimate in convenience and style. Imagine being able to turn your faucet on and off with just a wave of your hand – now that's what we call kitchen innovation!
Maintaining and Caring for Your New Faucet
Once your new faucet is installed and looking fabulous, it's important to keep it that way with regular maintenance and care. Be sure to clean your faucet regularly with a mild soap and water solution to keep it looking shiny and new. Avoid using harsh chemicals or abrasive cleaners, as these can damage the finish of your faucet.
Additionally, be mindful of any hard water deposits that may accumulate over time. If you notice any buildup, simply soak a cloth or sponge in vinegar and gently scrub the affected areas. This will help dissolve the deposits and keep your faucet looking its best.
Conclusion
And there you have it – a step-by-step guide to upgrading your kitchen with a stylish new faucet! With just a little bit of time and effort, you can transform your kitchen into a space that's both beautiful and functional. So go ahead, unleash your inner DIY guru and give your kitchen the upgrade it deserves. Happy renovating!