Be Your Own Plumber: DIY Hacks for Leaky Faucet Repair
Introduction:
We get it – dealing with a leaky faucet can be a real pain. But fear not! At All American Plumbing, we believe in empowering you to tackle those plumbing issues head-on, and what better way to start than with a leaky faucet? Not only will you save some hard-earned cash, but you'll also feel a sense of accomplishment. So, let's dive into some DIY hacks for leaky faucet repair!

Why Bother Fixing That Drip?
A. Importance of addressing leaky faucets promptly
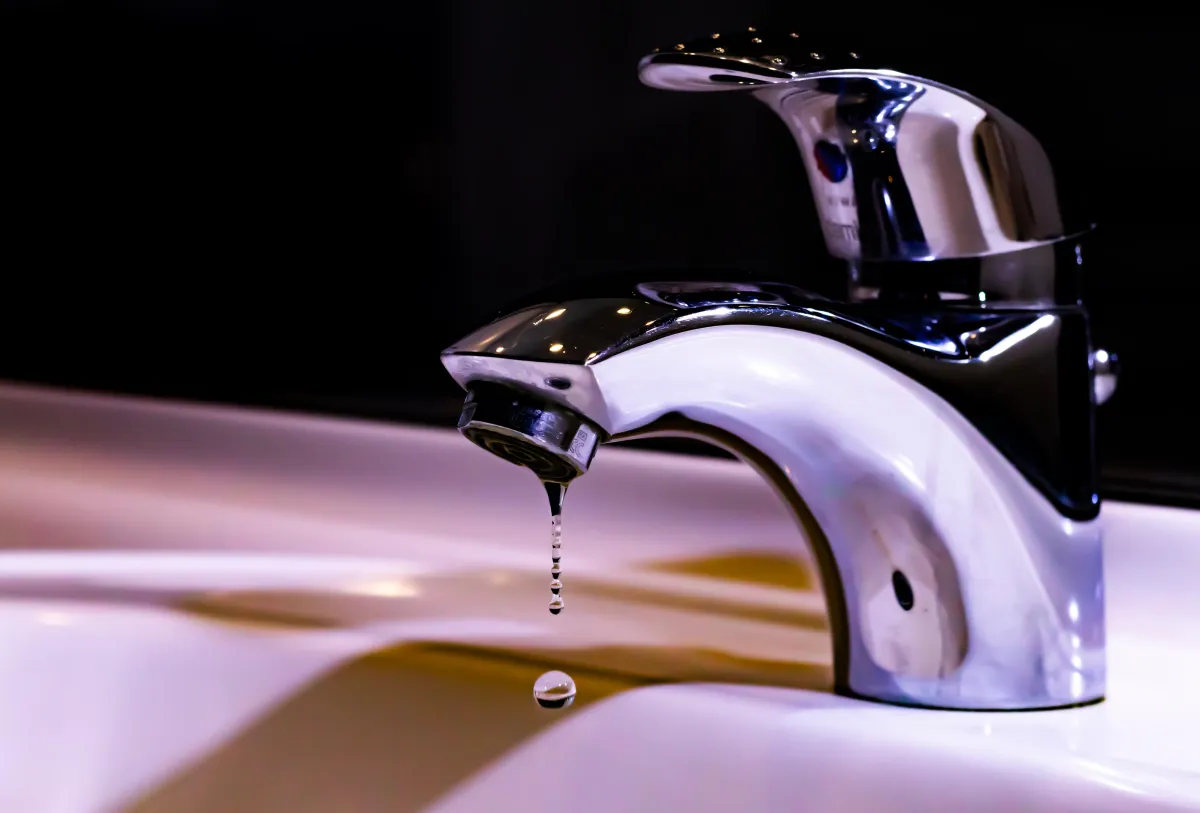
You might think that little drip isn't a big deal, but it adds up over time. Wasted water equals wasted money, and in today's eco-conscious world, fixing leaks is a small step towards a greener planet.
B. Cost-saving benefits of DIY leaky faucet repair
Hiring a plumber can burn a hole in your pocket, and let's face it – some of us aren't ready for that financial hit. By mastering a few simple DIY tricks, you can keep your money where it belongs – in your wallet.
Understanding the Basics of Faucet Leaks
A. Common causes of faucet leaks
Okay, before you grab your tools, it's essential to know what you're up against. Faucet leaks often occur due to worn-out O-rings, damaged seals, loose parts, or a corroded valve seat. Knowing the enemy is the first step in defeating it!
B. Identifying the type of faucet
Faucets come in different flavors – compression, ball, cartridge, and ceramic-disc. Each type has its quirks, so identifying your faucet's type is crucial before you start playing plumber.
Essential Tools and Materials
A. Overview of necessary tools
You don't need a full toolbox, but a few essentials will make the job smoother. Grab an adjustable wrench, screwdrivers, a pipe wrench, and a plunger – the heroes of our DIY tale.
B. Required materials
Stock up on replacement O-rings, lubricating oil, plumber's putty, and Teflon tape. These small but mighty materials will be your sidekicks throughout the repair process.
Step-by-Step DIY Leaky Faucet Repair
A. Preparation
Turn off the water supply
Locate the shut-off valve under the sink and give it a clockwise twist.
Plug the sink drain
Prevent any runaway parts by covering the sink drain with a plug or rag.
B. Compression Faucet Repair
Disassembling the faucet
Remove the handle and unscrew the packing nut.
Inspecting and replacing O-rings and seals
Identify the worn-out components and swap them with new ones.
Reassembling the faucet
Reverse the disassembly steps, making sure everything is snug.
C. Ball Faucet Repair
Removing the handle and cap
Pop off the decorative cap and unscrew the handle.
Replacing worn-out parts
Swap the old parts with shiny new ones.
Reassembly and testing
Put everything back together and give it a test run.
D. Cartridge Faucet Repair
Removing the faucet handle
Unscrew the handle and the retaining clip.
Replacing the cartridge
Swap out the old cartridge for a fresh one.
Reassembling the faucet
Reverse the process, ensuring a tight fit.
E. Ceramic-Disc Faucet Repair
Disassembling the faucet
Remove the handle and unscrew the ceramic-disc cartridge.
Inspecting and replacing damaged parts
Identify and replace any worn-out components.
Reassembly and testing
Put everything back in place and turn on the water to check for leaks.
Troubleshooting Tips
A. Dealing with stubborn or corroded parts
If a part refuses to budge, don't force it. Apply penetrating oil and let it work its magic. Patience is key!
B. Addressing additional issues during the repair process
Sometimes, you may uncover other minor issues. Don't panic; most can be addressed with a little extra attention. Just stay calm and keep at it.
Preventive Maintenance
A. Regular inspection of faucets
Make leak detection a part of your routine. Catching issues early can save you from major headaches down the road.
B. Applying lubricants to prevent future leaks
A little lubrication can go a long way. Apply plumber's grease to moving parts during reassembly to ensure smooth operation and longevity.
C. Promptly addressing minor issues to avoid major repairs
Don't procrastinate! A small leak today could turn into a flooded kitchen tomorrow. Stay on top of those repairs to keep your home in tip-top shape.
When to Call a Professional
A. Recognizing situations beyond DIY capabilities
Not every leak can be conquered by a weekend warrior. If you're dealing with complex issues or lack the confidence to tackle a problem, it's okay to call in the pros.
B. Importance of professional intervention for complex issues
Sometimes, a skilled plumber is the hero your home needs. They have the expertise and tools to handle the toughest plumbing challenges.
Conclusion
So there you have it, fellow DIY enthusiasts! Armed with these tips and tricks, you're well on your way to becoming the hero of your home's plumbing saga. Remember, a leaky faucet is no match for your newfound skills. If in doubt, give us a shout at All American Plumbing. We're here to help, but we also believe in your ability to conquer those plumbing challenges on your own. Happy fixing!
